What Are the Key Steps for a Safe and Successful DIY Roof Installation?
The prospect of a DIY roof installation can be daunting yet rewarding. Undertaking such a project not only enhances the functionality of your home but also revitalizes its aesthetics. However, a successful roof installation hinges on meticulous planning, significant preparation, and strict adherence to safety measures. This article details the essential steps to ensure a secure and effective roof installation.
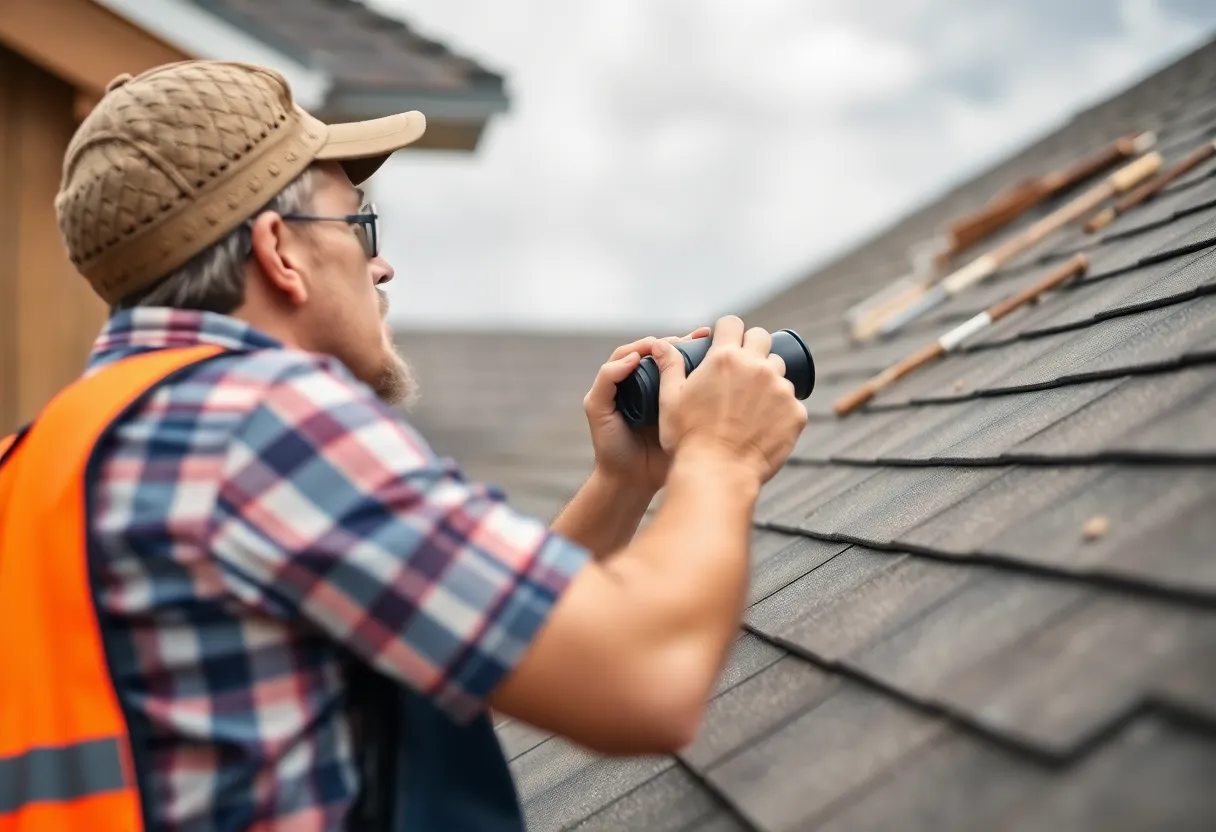
1. Assess Your Current Roof Condition
Before diving into installation, evaluate the condition of your existing roof thoroughly. Look for signs of damage, such as sagging, leaking, or rotting materials. You should also take note of the roofing type and material. Understanding the current state of your roof is critical for making informed decisions regarding the new roof installation.
2. Choose the Right Roofing Material
Your choice of roofing material significantly impacts installation complexity, longevity, and overall appearance. Popular roofing materials include:
- Asphalt shingles: Affordable, versatile, and easy to install.
- Metal roofing: Known for durability and energy efficiency.
- Slate tiles: Aesthetic appeal and long lifespan but require professional installation.
- Wood shingles: Offer a natural look; however, they may be susceptible to decay.
Consider factors such as climate, budget, and personal preference when selecting materials. Research thoroughly before making your choice.
3. Gathering Tools and Materials
Compiling all necessary tools is essential for a smooth installation. Common tools include:
- Ladder
- Roofing nailer or hammer
- Utility knife
- Measuring tape
- Safety harness and rope
- Protective eyewear and gloves
Additionally, ensure you have sufficient roofing materials, including underlayment, shingles, and flashing. Check your inventory twice to avoid running out of materials during the project.
4. Understand Local Building Codes
Before commencing any construction, familiarize yourself with local building codes and regulations. These may dictate specific requirements for roof installation, including:
- Material specifications
- Wind resistance ratings
- Height restrictions
Compliance with these regulations ensures safety and legality, preventing future complications or penalties.
5. Set a Project Timeline
Establishing a timeline helps manage expectations and keeps the project on track. Consider factors such as:
- The size of the roof
- The complexity of installation
- Weather conditions during the installation period
Allow for flexibility in your timeline to account for unforeseen issues. This approach minimizes stress and enhances productivity.
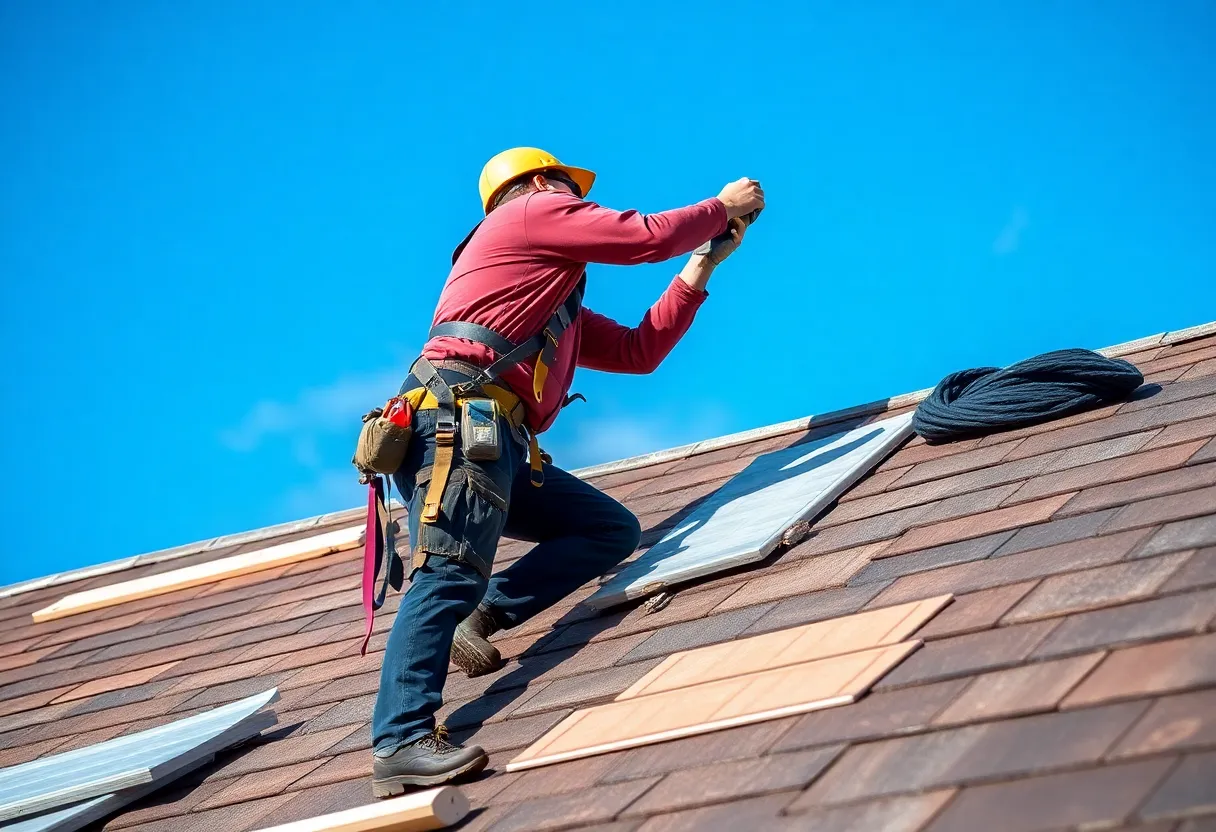
6. Safety First
Safety should always be your foremost priority during a roof installation. Here are essential safety tips:
- Always use a sturdy ladder and ensure it’s positioned at the right angle.
- Wear appropriate safety gear, including a helmet and non-slip shoes.
- Utilize a safety harness while working at heights.
- Be cautious of weather conditions. Avoid installation during rain or strong winds.
Implementing these safety measures will significantly reduce the risk of accidents and injuries.
7. Prepare the Roof Surface
Preparation is key to a successful installation. Begin with the following steps:
- Clear the roof surface of any debris, such as dirt, leaves, and old roofing materials.
- Inspect and repair underlying structures like rafters or sheathing as necessary.
- Install the underlayment, which acts as a moisture barrier.
This preparation creates a solid foundation for your new roofing material.
8. Installation Process
The installation process varies depending on the roofing material chosen. However, the general steps entail:
- Start from the bottom edge of the roof and work your way up.
- For asphalt shingles, interlock each piece, ensuring each nail penetrates firmly.
- If using metal roofing, align panels and fasten tightly to avoid leaks.
Follow instructions specific to your chosen material. A thorough understanding of the installation procedure enhances efficiency and accuracy.
9. Flashing Installation
Flashing is an essential component that prevents water intrusion around features such as chimneys or vents. Proper installation of flashing prevents leaks. Follow these guidelines:
- Ensure flashing is installed where necessary, paying particular attention to joints and edges.
- Seal gaps with waterproof tape or caulking to create a tight barrier.
Neglecting this step may lead to future leaks and costly repairs.
10. Final Inspection and Cleanup
Upon completion of the installation, conduct a thorough inspection. Look for:
- Loose or improperly installed shingles or panels
- Seams in the flashing or underlayment
- Quality of the overall finish
Ensure all tools and materials are cleaned up and safely stored. Leaving the area clean promotes safety and enhances aesthetics.
11. Maintenance After Installation
Once your DIY roof installation is complete, maintenance becomes crucial for longevity. Regularly inspect your roof for:
- Debris accumulation
- Signs of leaks or damage
- Condition of the flashing and underlayment
Taking the time for periodic maintenance will extend the life of your new roof and preserve your home’s integrity.
Conclusion
A DIY roof installation is an achievable venture with adequate planning and commitment. By following these steps—assessing your roof condition, selecting the right materials, preparing properly, ensuring safety, and conducting diligent maintenance—you set the groundwork for a successful project. This undertaking not only enhances your home’s functionality but also adds to its value and aesthetic appeal. Approach the project with the necessary preparation and careful planning for a satisfactory roof installation experience.