How to Effectively Assess Your Roof’s Strength and Stability: A DIY Guide for Homeowners
Your roof is a vital component of your home, serving as the first line of defense against environmental elements. Understanding its strength and stability is crucial for both safety and longevity. This guide will provide you with a systematic approach to assess your roof effectively.
Understanding the Importance of Roof Assessment
Regular roof assessments can prevent significant issues down the line. A compromised roof can lead to leaks, structural damage, and even health concerns due to mold growth. Here are a few key reasons why assessing your roof’s strength and stability is essential:
- Protects Structural Integrity: A strong roof maintains the overall structural integrity of your home.
- Extends Lifespan: Regular checks can extend the lifespan of your roofing materials.
- Prevents Costs: Early detection of issues can save you from costly repairs in the future.
When to Assess Your Roof
Identifying the right time to assess your roof is crucial. Here are some guidelines to help you determine when to carry out an assessment:
Seasonal Inspections
It’s advisable to inspect your roof at least twice a year, preferably in spring and fall. This routine helps you catch problems early.
After Severe Weather
Severe storms, heavy snow, or strong winds can damage your roof. Following such events, a thorough inspection is advisable to identify any immediate threats.
DIY Roof Assessment Steps
Performing a roof assessment can be straightforward. Follow these steps to ensure a comprehensive evaluation of your roof’s strength and stability.
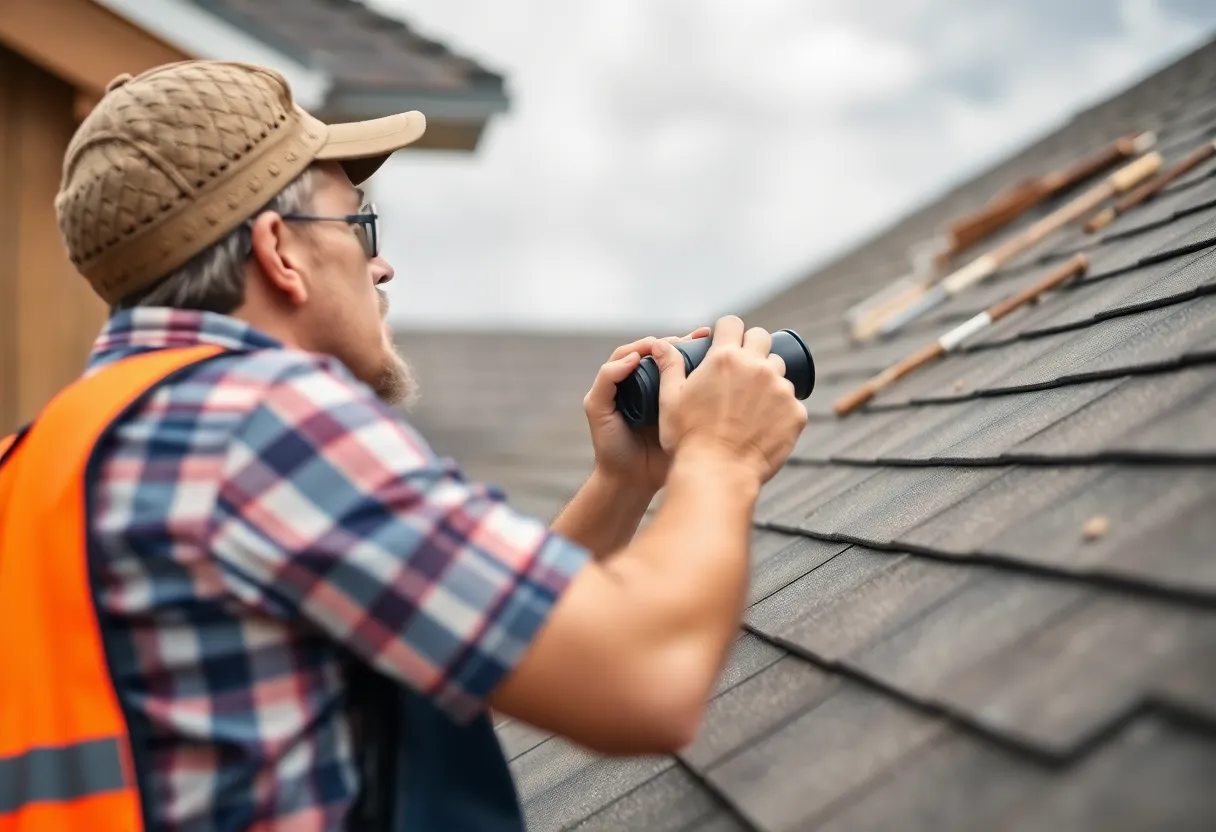
Gather Essential Tools
- Binoculars: Great for a distant view of your roof.
- Measuring Tape: To measure any damages or areas of concern.
- Camera: Documenting issues for reference later.
- Safety Gear: Harnesses, helmets, and sturdy shoes are essential for climbing onto the roof.
Conduct a Visual Inspection
Start with a thorough visual examination from the ground. Look for the following indicators:
- Shingle Condition: Check for missing, cracked, or curled shingles.
- Color Variations: Look for dark spots signifying mold or algae growth.
- Flashing Damage: Ensure the metal flashings around vents or chimneys are intact.
Assess Sagging Areas
Sagging in your roof may signal structural strength issues. Inspect the roof’s lines for any dips or uneven surfaces. Sagging can indicate serious problems with the underlying framework.
Check the Gutters
Your gutters can provide insights into your roof’s condition. Look for:
- Debris Accumulation: Clogged gutters can allow water to pool, risking damage.
- Rust or Rust Stains: These can indicate prolonged exposure to moisture.
Inspect from a Ladder
If it’s safe, use a ladder to get a closer view of your roof. Make sure to maintain three points of contact at all times. While on the roof, take note of:
- Wear and Tear: Look for cracked or missing shingles.
- Structural Integrity: Check that the roof feels stable and secure underfoot.
Evaluate Attic Conditions
The attic can be a crucial area for roof assessment. Grasp the following points:
Look for Moisture Signs
Examine the attic for signs of moisture, such as water stains or mold. These can indicate leaks that may compromise roof strength.
Inspect Ventilation
Proper ventilation is essential for roof longevity. Ensure that the attic is well-ventilated to avoid heat and moisture accumulation.
Document Your Findings
Record any issues you discover during your assessment. Include:
- Date of Inspection: Helps in tracking maintenance records.
- Pictures: Documenting problems visually aids in identifying trends over time.
- Description of Issues: Keep a record of any observed damages or potential concerns.
Common Roof Issues to Look Out For
Being aware of common roof issues will make your assessment more effective. Understand the following problems that frequently occur:
Leaking Roofs
Roof leaks can arise from various sources, including faulty flashing, missing shingles, or cracked tiles. Identifying leaks promptly is crucial to prevent significant water damage.
Damaged Flashing
Flashing around chimneys, vents, and skylights often becomes damaged or displaced. This can allow water to penetrate and cause leaks inside your home.
Poor Ventilation
Inadequate ventilation can lead to heat buildup in the attic, which can damage roofing materials over time and contribute to ice dam formation in colder climates.
Moisture Issues
Moisture problems can lead to mold, wood rot, and pest infestations. Regular inspections can help identify these issues before they escalate.
When to Call for Professional Help
While DIY assessments can be beneficial, certain conditions warrant a professional inspection. Consider professional help when:
- Complex Damages: Major issues, such as structural damage or extensive leaks, require expert diagnosis.
- Safety Risks: If you feel unsafe navigating your roof, it’s best to hire professionals.
- Insurance Requirements: Documented professional inspections may be necessary for insurance claims.
Preventive Measures for Long-term Stability
Taking preventive actions can significantly enhance your roof’s longevity:
Regular Maintenance
Schedule regular maintenance checks and clean gutters frequently to prevent debris buildup that can lead to leaks and damage.
Trim Overhanging Branches
Overhanging tree branches can damage your roof during storms. Keep them trimmed to prevent potential damage.
Consider Roof Coatings
Applying reflective roof coatings can enhance energy efficiency and protect the underlying materials from UV damage.
Conclusion
Understanding how to assess your roof’s strength and stability is an invaluable skill for every homeowner. By following this DIY guide, you can effectively identify potential issues and take proactive measures to maintain the health of your roofing system. Regular inspections, thorough documentation, and an understanding of common problems will serve you well in safeguarding not only your roof but your entire home.